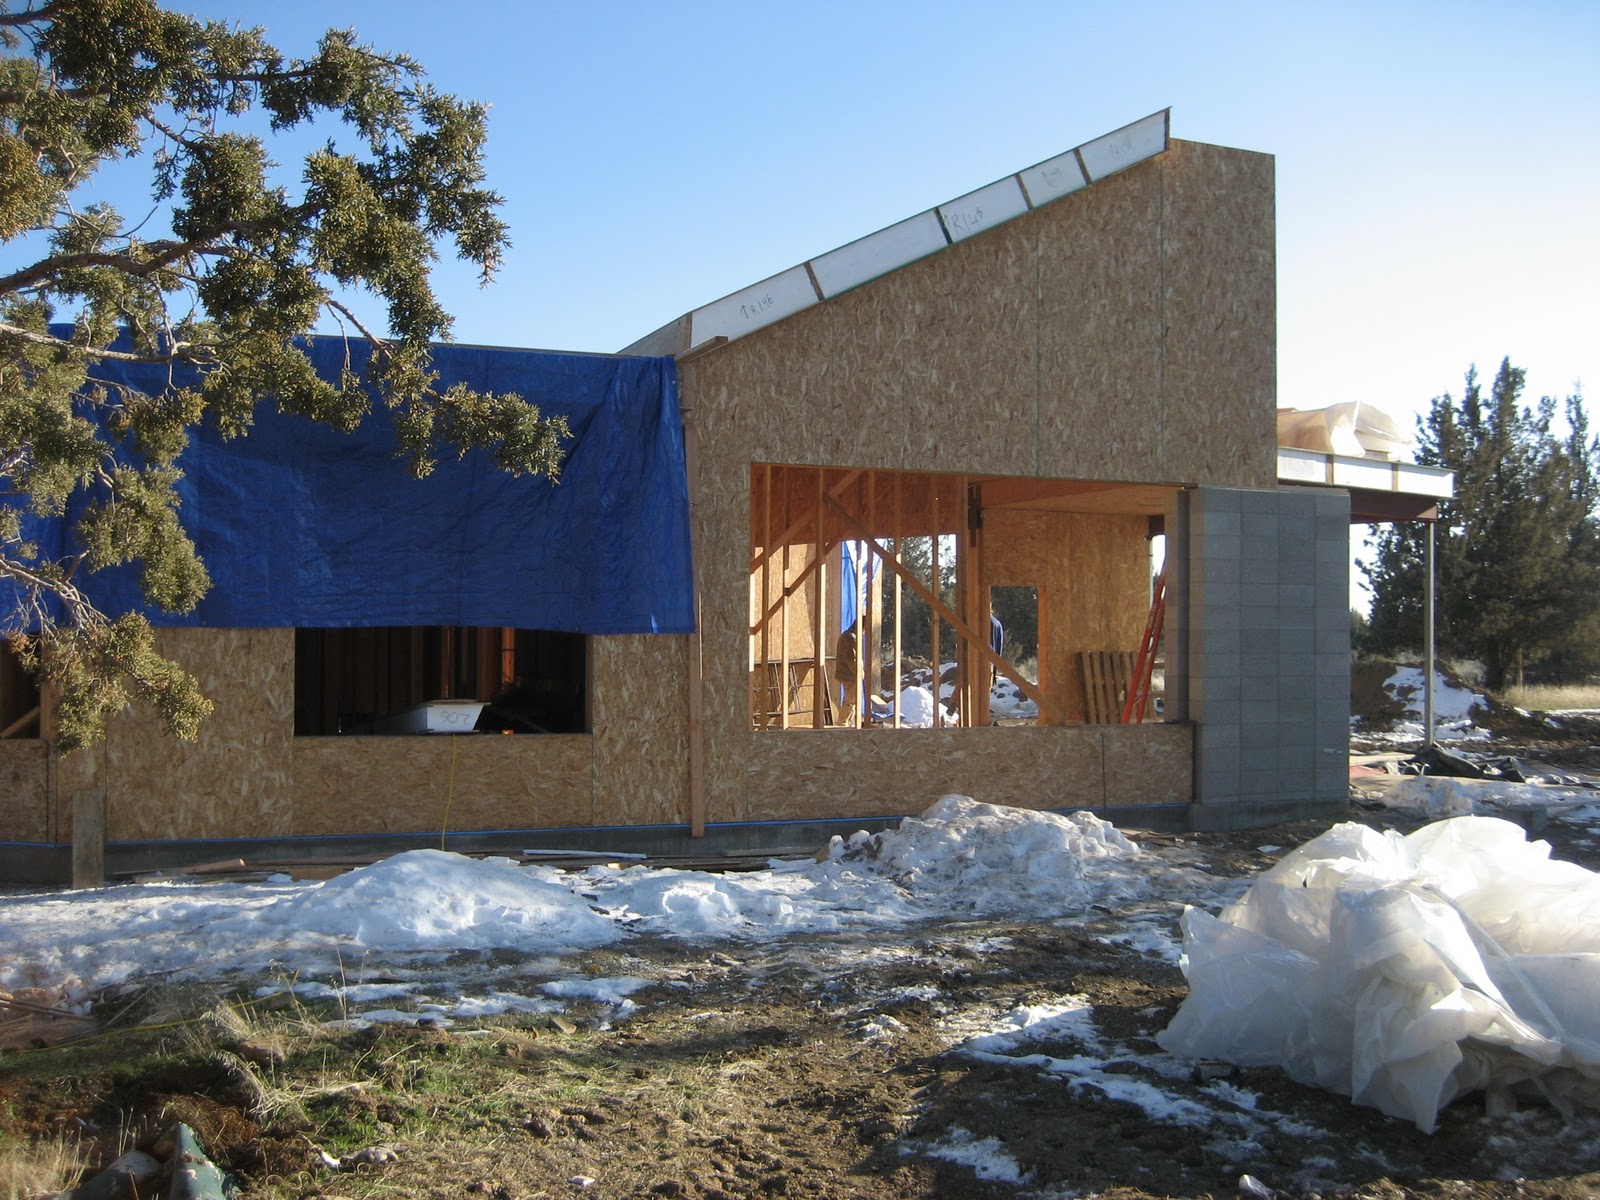
Friday, April 1, 2011

March 29: Exterior Cavity Walls Insulated


Exterior walls that are not SIP's are either stick framed or masonry and are built with empty cavities, which are intended to be filled with insulation.   We chose to use Icynene spray foam insulation for insulating most of the exterior cavity walls because the blowing agent (water and nitrogen) is not harmful to the environment.  Below, Icynene is shown being installed in a narrow and difficult to reach cavity located in the curving framed wall of the Guest Bedroom Wing.  The foam expands to seal the cavity to eliminate the possibility of any air leakage or moisture migration through the walls.


The higher density version of Icynene (2 lbms), is shown being installed in the 4" cavity between double masonry walls in the Living Room, below.  The R-value for 4" is 22.


Wednesday, March 30, 2011

March 21-23: Solar Collectors Installed


Above is shown work that was completed in early February before the ground became frozen.  Copper supply and return pipes are shown, which connect the thermal solar collector panels to a manifold in the Utility Room, and are in the process of being brazed together in a 2' deep trench, which leads from the collector array to the residence.  The insulated pipes will distribute water heated by the collectors to a domestic hot water heat exchanger connected to the hot water storage tank and also to tubing that will deliver heat to a high mass storage system located below the slab floor. 


Above, the first of ten 4' x 10' Heliodyne solar panels is attached to the base rail and tilted up with custom designed aluminum mounting hardware to an optimum angle of 60 degrees to achieve maximum solar collection for space heating for a residence located at 45 degrees latitude .  Haley, Billy's construction dog emeritus, is shown keeping an eye on the work. 


Collectors are shown installed and ready for connection to pipes, pumps, expansion tanks, 
and photovoltaic power sources.


Individual collector tubing is connected top and bottom with a brass union.  A bottom header connection is shown in the photo above with collector mounting feet on either side.


Above is a photo showing the attachment of collectors and mounting hardware to steel rails supported on concrete piers. 


Above, a side view shows the six points of attachment between each collector and the mounting structure, which incorporates the collector frames into an uncluttered and efficient design that works as a unified structural system.


Straight and tight, the collectors respectfully face true south in homage to our sun, the energy source of life. 


Monday, March 14, 2011

March 7-8: Roof & Walls Weatherized


With the soffit and parapet wall installed and painted, the walls are covered with building paper in preparation for window flashing and siding, above and below.


Standing seam metal roof and window flashing are installed, shown below.


Below, what looks like it could be the surface of the moon is actually a close-up view of damage to the membrane roof due to freezing that occurred during the curing process.  Fortunately, the damage was limited to a small area on the upper roof, which will be repaired in a few months after weather conditions improve.


An uncured layer of membrane below a surface skin that has been peeled back, shown in the photo below.


Friday, February 11, 2011

Jan 17 - Feb 10: Living Roof Parapet & Membrane


The perfect weather that we had hoped for to work on the roof finally arrived.  The living roof parapet wall and fascia are shown installed, above, constructed from fibercement siding for durability and low maintenance.   The living roof neoprene membrane is shown being installed in the following photos.


After the wind started blowing, later in the day, the spray gun was useless.  A small remaining portion of roof is shown being completed with a roller application, below.


Seen from the roof, the Mt. Jefferson volcano looms over the landscape.


With roof membranes and fascia installed, the fascia is painted prior to the installation of the parapet cap flashing, below.


Mid-winter sunlight penetrates the space through a skyview window like a firey comet at sunset.


Saturday, January 22, 2011

Jan 17-19: Cable Truss Installed & Structure Completed


Above, after much speculation as to what might happen, the Cable Truss was tightened by hand, and the shoring was routinely removed.  The structure didn't creak or groan, nails didn't pop, and the laser measurement device didn't show any deflection of the roof greater than 1/16", the limitation for the laser's measurement accuracy.  Confidence among the construction crew was high enough that the architect wasn't even required to stand beneath the roof structure when the shoring was knocked out!

Left and below, a framed skylight opening offers a convenient access hatch onto the roof. 


All of the structural elements are in place, as shown in the following photos.


West Elevation with 3" of snowfall in the foreground, above.


Southwest Elevation, above.


South Elevation, above.


Lotte and Todd discuss the up and coming push to weatherize the structure, which will be dependent upon a promising forecast for a high pressure zone arriving this week with warmer days and lots of sunshine, lower humidity and no precipitation, and no wind.  This is needed, especially, before the water based membrane roofing can be sprayed onto a dry roof surface.  


Friday, January 7, 2011

Jan 3-4: Prep for Completing Roof Structure

The last SIP wall is dropped into place by the Gradall, below,...


...and, helpful persuasion is applied with a sledgehammer, below.


Lotte and Deschutes inspect the construction, below.


The best view in the house is on top of the house, below.


Sonny, the construction dog, makes his rounds, always keeping his vigil on-site.