Saturday, September 17, 2011

Sept 10-15: Heading for the Finish


Below, the corrugated galvalume siding is installed and details are added for the finish.


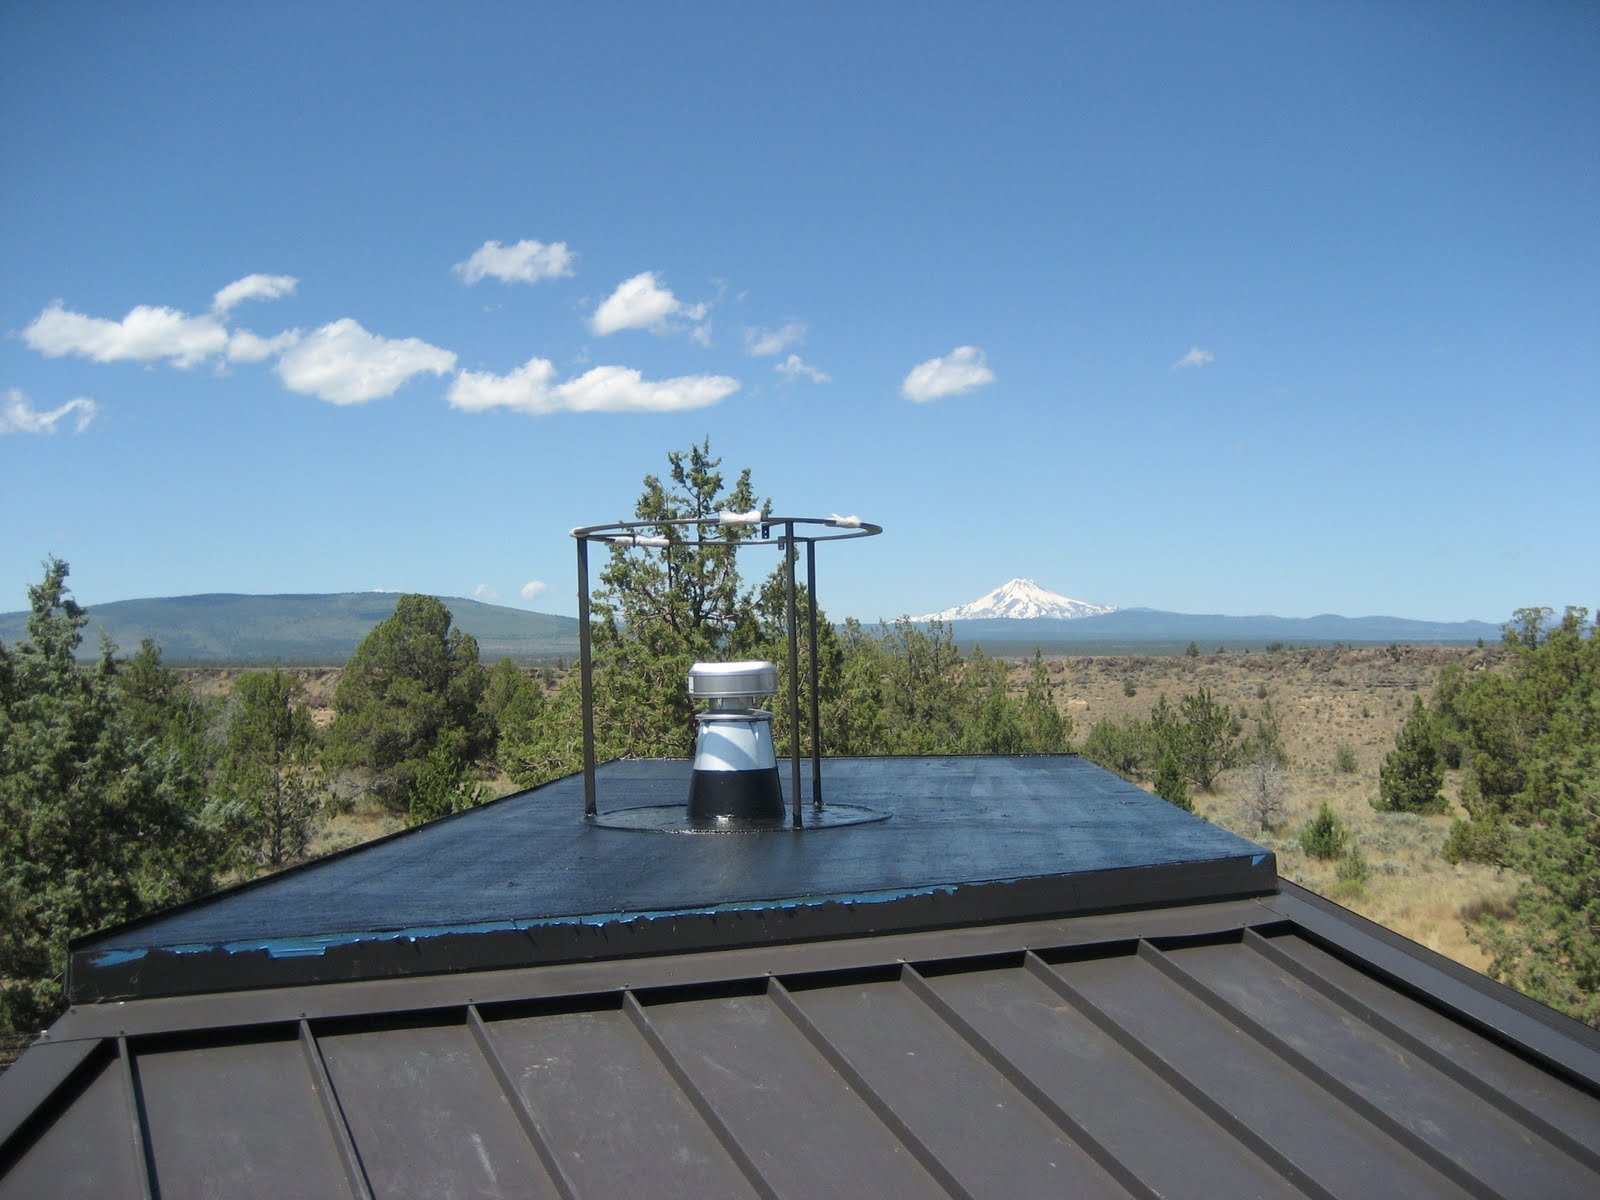
 The Mt. Jefferson volcano looms over the house, in the background, above.

Below, the thermal solar collector array started collecting heat on 911, a pleasant surprise and unplanned coincidence that seemed to be an appropriate response to promoting America's national interests through a step in the direction of foreign oil independence.  Aside from a wood stove for ambiance, the thermal solar system will be off the grid and the only system that will provide space heat for the residence. 


Purging the system of air bubbles, Carlos, one of our two solar plumbers, works on the system , below.


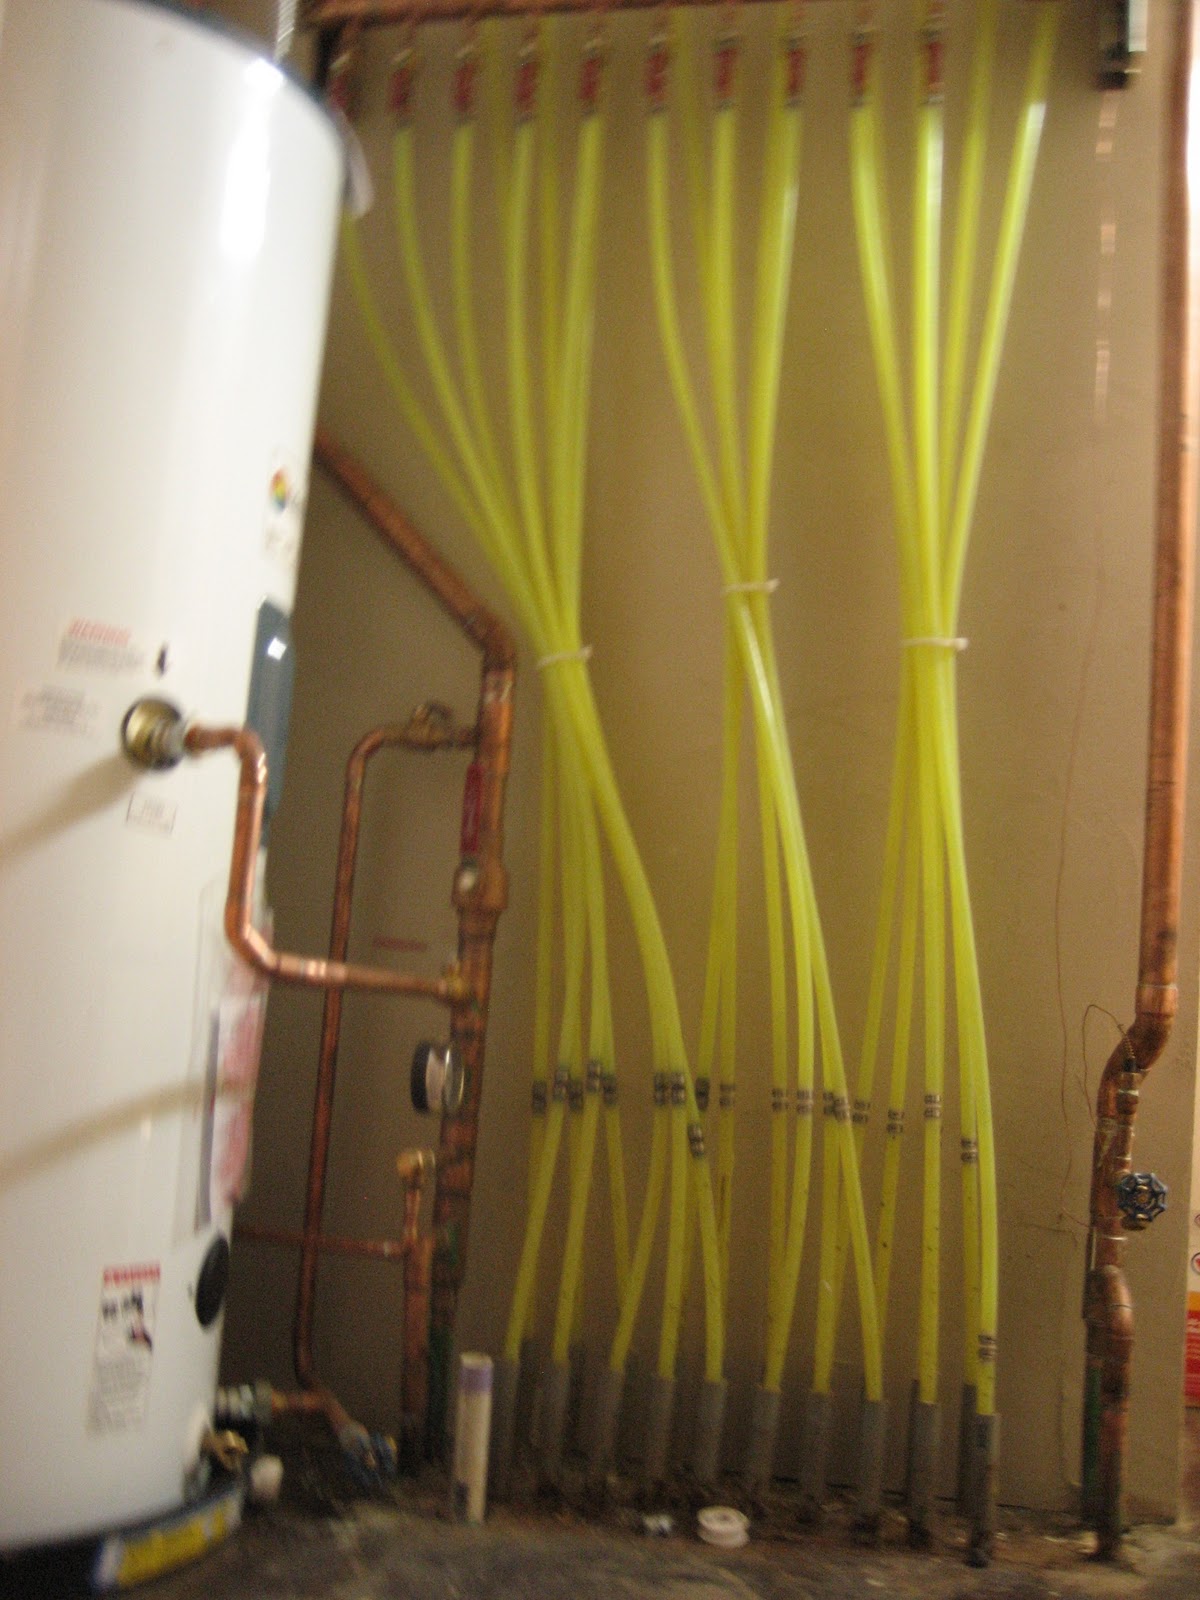
At the supply and return manifolds, located in the Mechanical Room in the house, Pierre checks each of the ten individual zones for lingering air pockets, which could interrupt the flow of the propylene glycol and water, a mixture which appears like the color of fluorescent lemonade as it flows through the PEX tubing, below.  Its non-toxic, so Carlos tried some and said that it tasted sweet like pancake syrup.  Well, if you're in the neighborhood, do feel free to come by for a tour and try some of our pancakes with propylene glycol.  Sweet!!


The twenty supply and return zone tubes gracefully hang on the wall and seem to sway down from the manifolds to the floor of the Mechanical Room like a Morris Lewis painting, however one that heats both the space and domestic hot water.


 Well, we're not in Kansas any more, but we feel a lot closer to the end of the rainbow.


Sunday, August 7, 2011

July 31: Ready or Not, We're Moving In !!

We moved out of our temporary quarters, in a nearby rental house last weekend, into our new residence at Roundup Ranch even though the construction was not quite finished. We made the move partially due to budgetary considerations but also to enjoy the beauty of the site during the remaining warm months of the year.


Although the doors and corrugated galvalume siding is not in place,  we backed our U-haul trailer up to move beds and assorted kitchen equipment in, including a temporary half-height refrigerator.

Our solar thermal collector array, which will supply the space and domestic water heating,  is located remotely from the residence and is shown to the left in the photo, below.


Galvalume corrugated metal siding is shown being installed, below.


Our high efficiency skylight is shown being installed, above and below.


The handrail, around the chimney flue, is screwed to the roof structure, and all roof penetrations are  repaired and sealed with neoprene, with a view of Mt. Jefferson, below.


Wood trim continues to be installed from the boards stockpiled in our Entrance Foyer, shown above.  A site-built window is shown finished with vertical grain Hemlock trim, right.

Below, sheet rock is in place and prepared to receive a finished coat of clay stucco, as shown in a photo taken of the Dining Room.


Back entrance, adjacent to curving Guest Bedroom Wing to the right, with corrugated siding being installed, below.


Photos below, show the SW and SE elevations of the residence at different stages of construction.


Sunday, May 15, 2011

May 9: ERV System installed


Above is shown the Energy Recovery Ventilator (ERV) [ temporarily displayed on a garbage can pedestal prior to being mounted on the framed wall ], which is designed to pre-heat and humidify incoming air by transferring energy from ventilation air that is exhausted through the ERV to fresh air that is brought into the residence through the ERV.  The temperature fluctuation between the intake and exhaust air through the ERV will only be 2 deg. F. 


Above, supply and return ventilation air manifolds are shown mounted to the SIP ceiling with ducts connected to their respective manifolds, which will in turn connect to the ERV unit (connection to the ERV not completed, at the time of the photo) 

The following photos show ventilation ducts being placed in soffit locations throughout the residence. 


Below, a frame is completed for a site-built air register for the Kitchen.


Friday, May 6, 2011

April 11- 19: Site-built Windows Installed


Since glazing plays such a vital role in an energy efficient residence, I decided not to compromise the design with the use of factory manufactured windows, but rather to design a more dependable, higher performance, lower maintenance, less expensive, and more user friendly window, which we assembled on-site, as shown in the photos above and below.  

For experts in the field of solar design, window manufacturers provide a very limited selection of high performance glass and energy efficient glazing components available for their window products, and in general, have begun a disappointing shift away from quality control in favor of a less expensive business strategy of reducing what is returned to the factory because, according an industry source, many consumers don't understand the subtle differences between a good and a bad window.  So, I decided it was time to design a better window.


The crew and associated construction canines take a lunch break.   Sonny is wearing a red bandana because he is shown recovering from a puncture wound after a kick from a deer on one of his rounds around the site.


Friday, April 1, 2011

March 29: Exterior Cavity Walls Insulated


Exterior walls that are not SIP's are either stick framed or masonry and are built with empty cavities, which are intended to be filled with insulation.   We chose to use Icynene spray foam insulation for insulating most of the exterior cavity walls because the blowing agent (water and nitrogen) is not harmful to the environment.  Below, Icynene is shown being installed in a narrow and difficult to reach cavity located in the curving framed wall of the Guest Bedroom Wing.  The foam expands to seal the cavity to eliminate the possibility of any air leakage or moisture migration through the walls.


The higher density version of Icynene (2 lbms), is shown being installed in the 4" cavity between double masonry walls in the Living Room, below.  The R-value for 4" is 22.


Wednesday, March 30, 2011

March 21-23: Solar Collectors Installed


Above is shown work that was completed in early February before the ground became frozen.  Copper supply and return pipes are shown, which connect the thermal solar collector panels to a manifold in the Utility Room, and are in the process of being brazed together in a 2' deep trench, which leads from the collector array to the residence.  The insulated pipes will distribute water heated by the collectors to a domestic hot water heat exchanger connected to the hot water storage tank and also to tubing that will deliver heat to a high mass storage system located below the slab floor. 


Above, the first of ten 4' x 10' Heliodyne solar panels is attached to the base rail and tilted up with custom designed aluminum mounting hardware to an optimum angle of 60 degrees to achieve maximum solar collection for space heating for a residence located at 45 degrees latitude .  Haley, Billy's construction dog emeritus, is shown keeping an eye on the work. 


Collectors are shown installed and ready for connection to pipes, pumps, expansion tanks, 
and photovoltaic power sources.


Individual collector tubing is connected top and bottom with a brass union.  A bottom header connection is shown in the photo above with collector mounting feet on either side.


Above is a photo showing the attachment of collectors and mounting hardware to steel rails supported on concrete piers. 


Above, a side view shows the six points of attachment between each collector and the mounting structure, which incorporates the collector frames into an uncluttered and efficient design that works as a unified structural system.


Straight and tight, the collectors respectfully face true south in homage to our sun, the energy source of life. 


Monday, March 14, 2011

March 7-8: Roof & Walls Weatherized


With the soffit and parapet wall installed and painted, the walls are covered with building paper in preparation for window flashing and siding, above and below.


Standing seam metal roof and window flashing are installed, shown below.


Below, what looks like it could be the surface of the moon is actually a close-up view of damage to the membrane roof due to freezing that occurred during the curing process.  Fortunately, the damage was limited to a small area on the upper roof, which will be repaired in a few months after weather conditions improve.


An uncured layer of membrane below a surface skin that has been peeled back, shown in the photo below.