Saturday, January 22, 2011

Jan 17-19: Cable Truss Installed & Structure Completed


Above, after much speculation as to what might happen, the Cable Truss was tightened by hand, and the shoring was routinely removed.  The structure didn't creak or groan, nails didn't pop, and the laser measurement device didn't show any deflection of the roof greater than 1/16", the limitation for the laser's measurement accuracy.  Confidence among the construction crew was high enough that the architect wasn't even required to stand beneath the roof structure when the shoring was knocked out!

Left and below, a framed skylight opening offers a convenient access hatch onto the roof. 


All of the structural elements are in place, as shown in the following photos.


West Elevation with 3" of snowfall in the foreground, above.


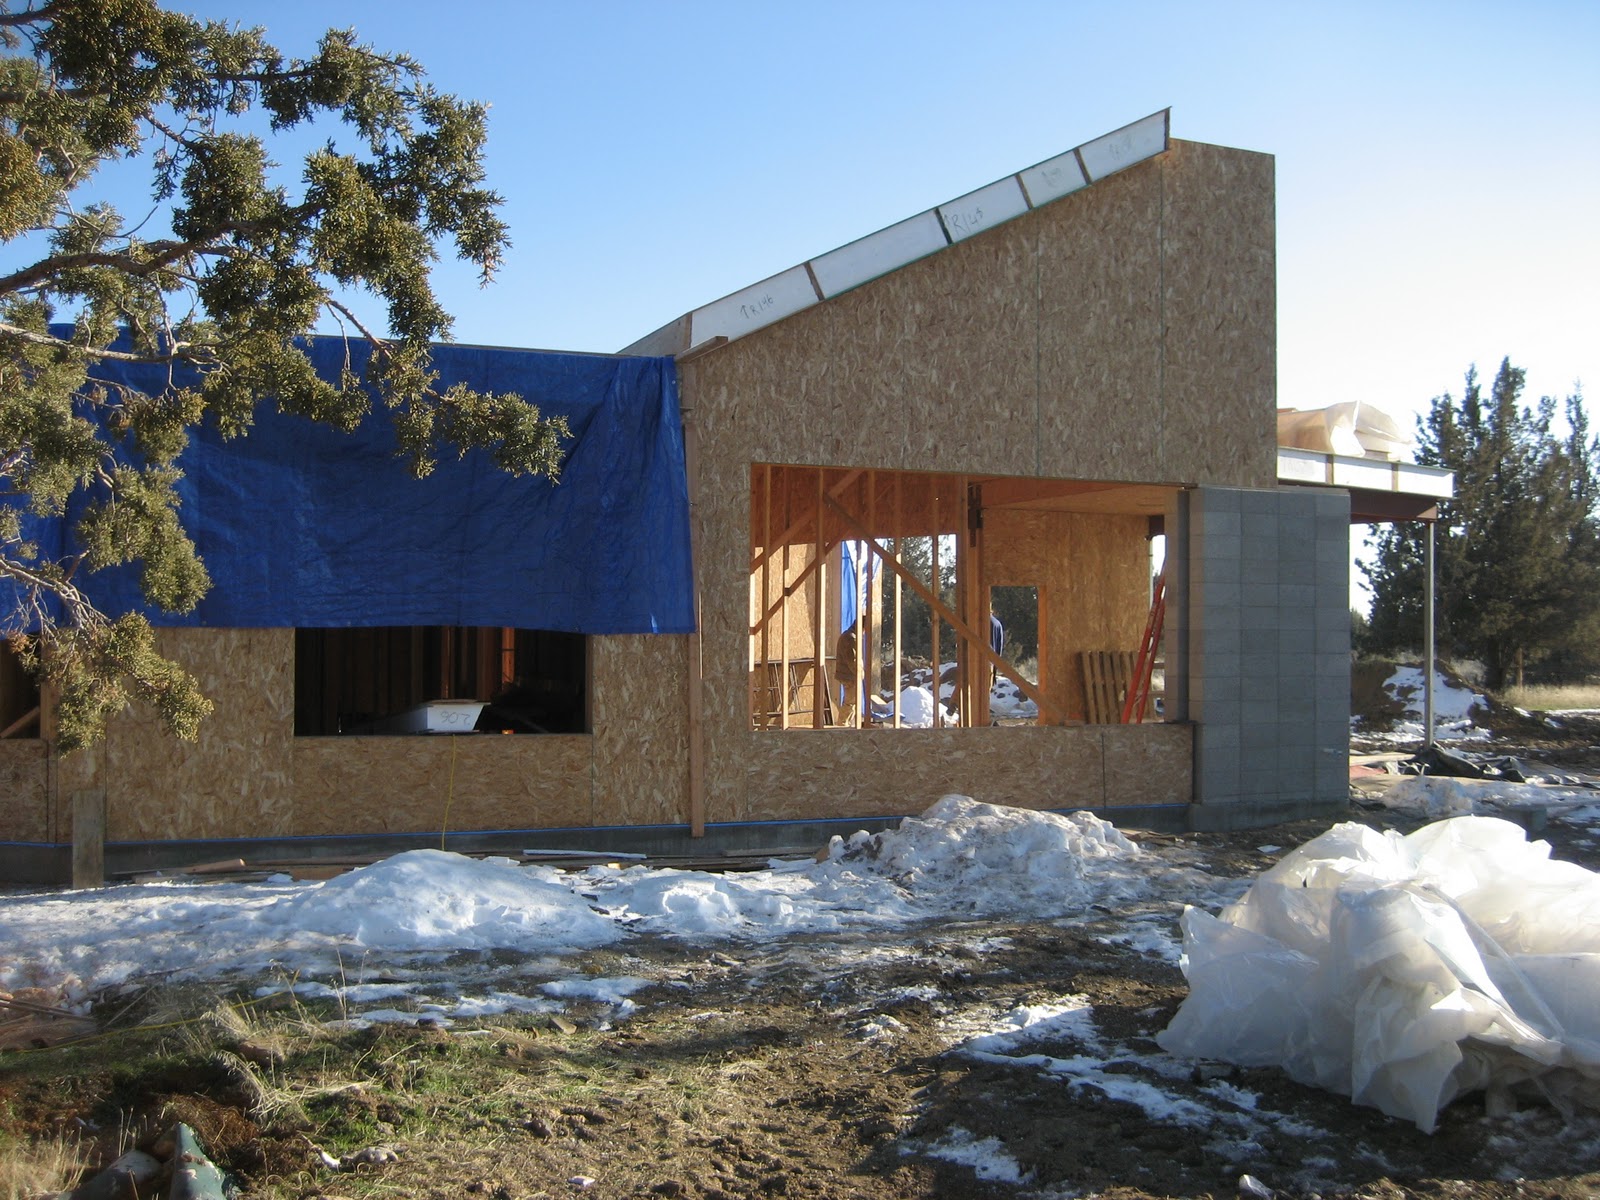
Southwest Elevation, above.


South Elevation, above.


Lotte and Todd discuss the up and coming push to weatherize the structure, which will be dependent upon a promising forecast for a high pressure zone arriving this week with warmer days and lots of sunshine, lower humidity and no precipitation, and no wind.  This is needed, especially, before the water based membrane roofing can be sprayed onto a dry roof surface.  


Friday, January 7, 2011

Jan 3-4: Prep for Completing Roof Structure

The last SIP wall is dropped into place by the Gradall, below,...


...and, helpful persuasion is applied with a sledgehammer, below.


Lotte and Deschutes inspect the construction, below.


The best view in the house is on top of the house, below.


Sonny, the construction dog, makes his rounds, always keeping his vigil on-site.


Dec 30-31: Sloped Roof (continued)


After the SIP's on the east sloping roof are in place, the north sloping roof SIP installation begins, below. 


The expanded polystyrene core of the roof SIP's are 12" thick and provide an insulation value of R50.

Billy installs a SIP on the north sloping roof inbetween structural members that converge at the Cable Truss Saddle connection, below.


The north sloping roof SIP's are installed, below, but not without considerable on-site cutting of all compound angles resulting from where the roof SIP's attach to the hip beam, which arrived uncut and extra long from the factory.  Hardly an assembly ready SIP package!  


Only one flat roof area at the top remains....

Monday, January 3, 2011

Dec 28: Sloped Roof

Secondary Strut is bolted to the hip beam, left.


A close-up of the Secondary Strut shows the two roller bolts with sleeves that will guide the Secondary and Primary Cables through the slot in the strut, left.


Temporary shoring is constructed to support the roof before the cables are in place, left.


A beam connecting the Cable Truss Saddle to a tube steel post bearing on the concrete block wall is lifted by the Gradall and bolted in place, above. 

Below, one of two sloped roof planes is completed.


An exposed rake edge of the east sloping roof SIP's, shown in the photo to the left, was not cut correctly at the factory and will need to be corrected by the builder.  The top edge of each panel will need to be furred out to align vertically with the bottom edge to form a 'gravity cut' before the fascia can be properly installed.  In addition, on the other axis in the plane of the sloping roof, the exposed edge of the lowest sloping roof SIP is not in alignment with the other sloping roof SIP's, which form the roofline at the rake. This correction will also need to be done on-site by the builder before installing the fascia.     


The crew takes a break.